Tag Archives: Tiles

Fonthill: Library Ceiling and Column Tiles

141116_Library Column Tiles by Karl Graf. 
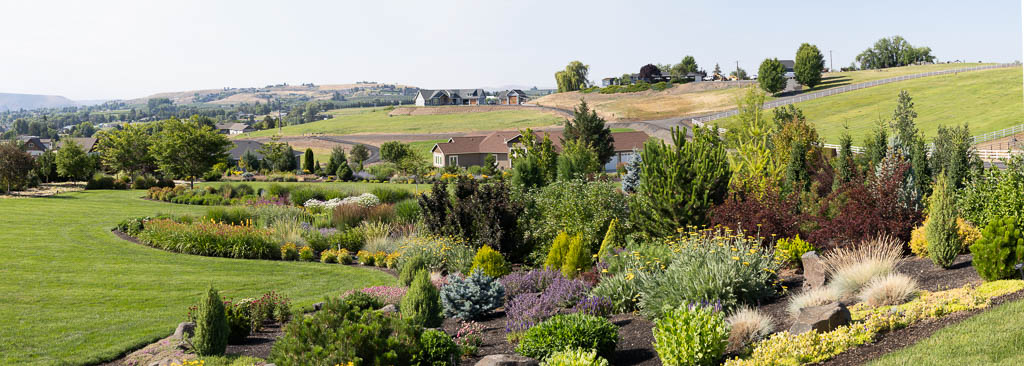
Canon 5DMkIII, EF24-70mm f/2.8L @ 42mm, f/6.3, 2 sec, ISO 200

The walls and fireplaces are not the only structures that are covered with tiles.  Most of the Castle’s many structural column capitals are encased with Mercer’s tiles.  Everywhere you look there are tiles, tiles and more tiles.  This image is taken from the main level looking up at the second floor of the Library.  The Library has concrete bookshelves lining the walls to accommodate the thousands of history and reference books collected by Mercer.

The ceilings of most rooms are also covered with tiles as shown below.  Remember … Plus Ultra!

Library Ceiling by Karl Graf.

Related Images:

Fonthill: Another Entryway Mosaic that Nobody Sees

Entryway Mosaics by Karl Graf.

Canon 5D MkIII, EF17-40mm f/4L @ 22mm, f/8.0, 8 sec, ISO 200

This is another beautiful mosaic mural in the Fonthill entryway that most people brush by on the start of the Fonthill tour.  It is located in a very dark hallway that leads from the entryway to the library.  I cannot recall the number of times I have taken the tour and just walked by this mural.

This project is teaching me to be patient, look around, explore with with my eyes and see things that I have not “seen” before.  My eyes may have passed over things as I rushed to capture the more common view points.  By being patient without expectations, I am “seeing” much more than ever before.  As John Barclay keeps repeating:  “Be patient, have no expectations, let the image come to you.”

Related Images:

Fonthill: Start of a Walking Tour of Mercer’s Tile Collection

Entryway Mosaics by Karl Graf. Canon 5D MkIII, EF24-70mm f2.8L @ 52mm, f/11, 5 sec, ISO 200

Welcome.  This will be the first post of a series that will walk through Fonthill Castle room by room, focusing on the Mercer tile collection.  I will attempt to throw in a few of my “learning” tidbits along the way.

This mosaic greets you as you first walk in to the Fonthill “front door” into the Visitor entryway.  Most eyes move quickly to the left to the Visitor check-in desk and do not pay attention to this mural.  After check in a visitor usually moves around looking at various items for sale in the entryway or moves quickly into the Conservatory.  They do not pay much attention to this mural.  I encourage my guests to stop and look.  This is the only place in the Castle that this style of tile work is displayed.  Below is a close-up of one of the repetitive scenes.

Entryway Mosaics by Karl Graf.

For another beautiful mural located behind and to the left of the Visitors check-in desk, please look back to my first post on 12 November.

ENJOY YOUR VISIT !

Related Images:

Fonthill: Delft Tiles

Saloon Delft Tiles by Karl Graf. Canon 5D MkIII, EF17-40mm f/4L @ 40mm, f/11, ISO 200 HDR

In my current project at Fonthill Castle, I am capturing Henry Mercer’s collection of foreign tiles as well as unique tiles designed by Mercer.  In building the project, I first try to photograph the tiles in their setting within the Castle.  This view is a selection of Mercer’s 18th Century Delft tiles in one of the Saloon’s large arched windows.  The perspective looks into the Library.

The challenge of this image was to focus on the Delft Tiles as mounted in the window and provide the setting as looking back into the Library.  I used HDR to blend the dynamic ranges of 5 images to balance out the shadows on the window tiles and the bright light coming in through the window.  I then used NIK Color Efex Pro contrast filters and Photoshop layers to selectively highlight and brighten details of the tiles and background tapestry in the Library.  I also wanted to keep the texture of the concrete at a subdued level.

There is so much to see in the Castle.  It is just very hard to capture the range of colors and details as the different elements are hidden by shadows or washed out from the bright light coming in from the windows.  In certain areas I have had to take images with a 13-stop difference between the deepest shadows and the brightest highlights.  I learn from each image I make.  For reference, below is the base exposure image that I started with.

141113_Delft Tiles, Saloon Window2 by Karl Graf.

Related Images:

Fonthill: Spanish Tiles

Conservatory, Spanish Tiles by Karl Graf. Canon 5D MkIII, EF24-70mm f/2.8L @ 50mm, f/11, 1/30 sec, ISO 400

The challenge was:  shadows, bright light contrast, where can I place my tripod, weird angles. muted colors from age … How can I create an image that adequately captures the beauty and detail of Henry Mercer’s collection of tiles.

Here is how I attacked this image.   There are stairs and a wall with additional tiles just to the left of this column.  I needed to be very careful how I placed my tripod as not to touch the wall and potentially mar any tiles.  I moved the tripod up and down several times to get  the correct vertical perspective without a distortion on the top and bottom.  I adjusted the placement of the camera to get as far left as I could to minimize the horizontal parallax.  It took me 15-20 minutes just to get the right placement of the camera.  I then waited and waited for the sun to go behind the clouds to reduce the brightness of the sun’s rays striking across the tiles.  I then took several images at different exposures to cover the dynamic range.  My goal was to get one that covered the total range from dark to light.  I still had bright and dark areas that had to wait until post-processing.  The total time it took to get this image was over one-half hour.

Now for post processing.  Out of the dozen or so images I took, one did cover the full range of “darks and lights”.  My first task was to try to balance the light and dark areas to get an acceptable brightness for all the tiles.  I used NIK Viveza to selectively lighten areas in the upper and left areas and darken areas in the lower right area.  I carefully blended light and dark opacity levels to get a “balanced” look.  Over time, the tiles had aged and collected dust which resulted in more subdued and muted colors.  When originally installed they were much brighter.  I tried to represent what I imagined the original color to be by adjusting various contrast methods using NIK Color Efex Pro.  I used Tonal Contrast to pop out the different colors.  Detail Extract was used to pull out the fine lines and further define the edges of the colors.  I then finished it off with Pro Contrast to adjust the color range to what I remember seeing.  The result was blended with the original image back in Photoshop CC to arrive at the final image.


Related Images: